Turn One Photo Into a Talking or Singing Video: MultiTalk Wan 2.1 Full Tutorial (1-Click)
ComfyUI auto installer that sets up Sage Attention, Triton, xFormers and Flash Attention in one click, with ready presets for image, video and lip sync models.
Published Jul 10, 2025 · 7,257 views · Watch on YouTube
Get the app and files

ComfyUI Auto Installer: 1-Click Windows, Linux & Cloud With Presets
ComfyUI auto installer that sets up Sage Attention, Triton, xFormers and Flash Attention in one click, with ready presets for image, video and lip sync models.

SwarmUI Auto Installer & Ultimate Image and Video Model Downloader
SwarmUI auto installer with extensions plus a unified AI models downloader for SwarmUI, ComfyUI, Automatic1111 and Forge, with 105 ready SwarmUI presets.
SwarmUI and ComfyUI Tutorial: Free Local AI Image Generation
SwarmUI with a ComfyUI backend gives free, local AI image generation: a 1-click installer, realism and style presets, text-based editing and 4K/8K upscaling.

Qwen Image Edit Full Tutorial: 26 Demo Cases, Prompts & Images
Qwen Image Edit full tutorial with 26 different demo cases, from photo restoration and text changes to stylization, object removal and outpainting in SwarmUI.
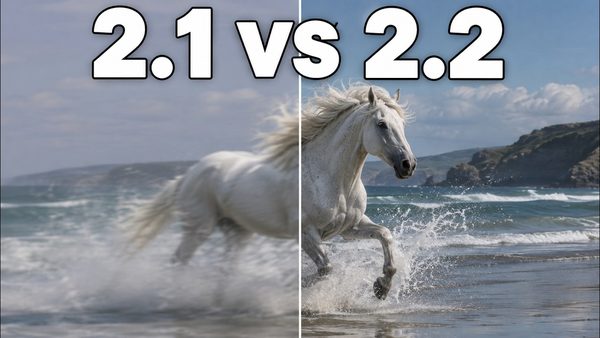
Wan 2.2, FLUX Krea & Qwen Image Upgraded: Fast 8-Step Presets Tutorial
Wan 2.2, Qwen Image, FLUX and FLUX Krea get new SwarmUI presets after a week of research, and new 8-step LoRAs make Wan 2.2 video and Qwen Image fast.
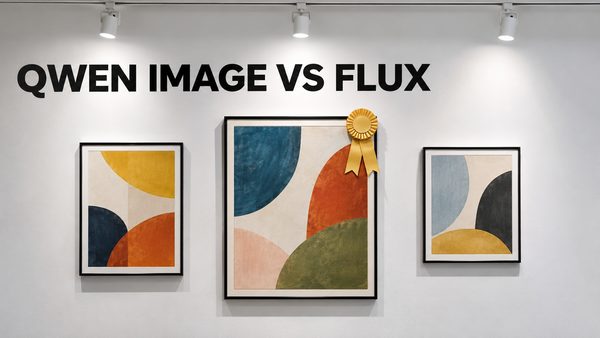
Qwen Image vs FLUX Dev vs FLUX Krea: New Text-to-Image King Comparison
Qwen Image compared with FLUX Dev and FLUX Krea over 700 generations; Qwen follows prompts far better and has a 68% bigger native resolution than FLUX Dev.
Chapters
- 0:00 Intro & MultiTalk Showcase
- 0:28 Singing Animation Showcase
- 0:57 Tutorial Structure Overview (Windows, Massed Compute, RunPod)
- 1:10 Windows - Step 1: Download & Extract the Main ZIP File
- 1:43 Windows - Prerequisites (Python, Git, CUDA, FFmpeg)
- 2:12 Windows - How to Perform a Fresh Installation (Deleting venv & custom_nodes)
- 2:42 Windows - Step 2: Running the Main ComfyUI Installer Script
- 4:24 Windows - Step 3: Installing MultiTalk Nodes & Dependencies
- 5:05 Windows - Step 4: Downloading Models with the Unified Downloader
- 6:18 Windows - Tip: Setting Custom Model Paths in ComfyUI
- 7:18 Windows - Step 5: Updating ComfyUI to the Latest Version
- 7:39 Windows - Step 6: Launching ComfyUI
- 7:53 Workflow Usage - Using the 480p 10-Second Workflow
- 8:07 Workflow Usage - Configuring Basic Parameters (Image, Audio, Resolution)
- 8:55 Workflow Usage - Optimizing Performance: 'Blocks to Swap' & GPU Monitoring
- 9:49 Workflow Usage - Crucial Step: Calculating & Setting the Number of Frames
- 10:48 Workflow Usage - First Generation: Running the 480p Workflow
- 12:01 Workflow Usage - Troubleshooting: How to Fix 'Out of VRAM' Errors
- 13:51 Workflow Usage - Introducing the High-Quality Long Context Workflow (720p)
- 14:09 Workflow Usage - Configuring the 720p 10-Step High-Quality Workflow
- 16:18 Workflow Usage - Selecting the Correct Model (GGUF) & Attention Mechanism
- 17:58 Workflow Usage - Improving Results by Changing the Seed
- 18:36 Workflow Usage - Side-by-Side Comparison: 480p vs 720p High-Quality
- 20:26 Workflow Usage - Behind the Scenes: How the Intro Videos Were Made
- 21:32 Part 2: Massed Compute Cloud GPU Tutorial
- 22:03 Massed Compute - Deploying a GPU Instance (H100)
- 23:40 Massed Compute - Setting Up the ThinLinc Client & Shared Folder
- 25:07 Massed Compute - Connecting to the Remote Machine via ThinLinc
- 26:06 Massed Compute - Transferring Files to the Instance
- 27:04 Massed Compute - Step 1: Installing ComfyUI
- 27:39 Massed Compute - Step 2: Installing MultiTalk Nodes
- 28:11 Massed Compute - Step 3: Downloading Models with Ultra-Fast Speed
- 30:22 Massed Compute - Step 4: Launching ComfyUI & First Generation
- 32:45 Massed Compute - Accessing the Remote ComfyUI from Your Local Browser
- 35:07 Massed Compute - Downloading Generated Videos to Your Local Computer
- 36:08 Massed Compute - Advanced: Integrating with the Pre-installed SwarmUI
- 38:06 Massed Compute - Crucial: How to Stop Billing by Deleting the Instance
- 38:33 Part 3: RunPod Cloud GPU Tutorial
- 39:29 RunPod - Deploying a Pod (Template, Disk Size, Ports)
- 40:39 RunPod - Connecting via JupyterLab & Uploading Files
- 41:11 RunPod - Step 1: Installing ComfyUI
- 42:32 RunPod - Step 2: Downloading Models
- 45:26 RunPod - Step 3: Installing MultiTalk Nodes
- 45:52 RunPod - Step 4: Launching ComfyUI & Connecting via Browser
- 47:50 RunPod - Running the High-Quality Workflow on the GPU
- 51:11 RunPod - Understanding the Generation Process on a High-VRAM GPU
- 52:34 RunPod - Downloading the Final Video to Your Local Machine
- 53:04 RunPod - How to Stop & Restart a Pod to Save Costs
About this video
By using MeiGen MultiTalk you can generate amazing fully animated real-like videos from given audio input. Not only talking but also animating the body movements is possible. In this video I will show you how to install ComfyUI on Windows and MultiTalk bundle and workflows we prepared with 1-click. Then I will show how to very easily generated amazing videos from these installed workflows. Moreover, I will show our favorite cloud private GPU provider Massed Compute. How to install same there and use it properly. Finally I will show everything on RunPod as well. So whether you are GPU poor or have good GPU, this tutorial covers everything.
🔗Follow below link to download the zip file that contains MultiTalk bundle downloader Gradio App - the one used in the tutorial ⤵️
▶️ https://www.patreon.com/posts/SwarmUI-Installer-AI-Videos-Downloader-114517862
🔗Follow below link to download the zip file that contains ComfyUI 1-click installer and the WORKFLOW shown in tutorial that has all the Flash Attention, Sage Attention, xFormers, Triton, DeepSpeed, RTX 5000 series support ⤵️
▶️ https://www.patreon.com/posts/Advanced-ComfyUI-1-Click-Installer-105023709
🔗 Python, Git, CUDA, C++, FFMPEG, MSVC installation tutorial - needed for ComfyUI ⤵️
▶️ https://youtu.be/DrhUHnYfwC0
🔗 SECourses Official Discord 10500+ Members ⤵️
▶️ https://discord.com/servers/software-engineering-courses-secourses-772774097734074388
🔗 Stable Diffusion, FLUX, Generative AI Tutorials and Resources GitHub ⤵️
▶️ https://github.com/FurkanGozukara/Stable-Diffusion
🔗 SECourses Official Reddit - Stay Subscribed To Learn All The News and More ⤵️
▶️ https://www.reddit.com/r/SECourses/
Video Chapters
0:00 Intro & MultiTalk Showcase
0:28 Singing Animation Showcase
0:57 Tutorial Structure Overview (Windows, Massed Compute, RunPod)
1:10 Windows - Step 1: Download & Extract the Main ZIP File
1:43 Windows - Prerequisites (Python, Git, CUDA, FFmpeg)
2:12 Windows - How to Perform a Fresh Installation (Deleting venv & custom_nodes)
2:42 Windows - Step 2: Running the Main ComfyUI Installer Script
4:24 Windows - Step 3: Installing MultiTalk Nodes & Dependencies
5:05 Windows - Step 4: Downloading Models with the Unified Downloader
6:18 Windows - Tip: Setting Custom Model Paths in ComfyUI
7:18 Windows - Step 5: Updating ComfyUI to the Latest Version
7:39 Windows - Step 6: Launching ComfyUI
7:53 Workflow Usage - Using the 480p 10-Second Workflow
8:07 Workflow Usage - Configuring Basic Parameters (Image, Audio, Resolution)
8:55 Workflow Usage - Optimizing Performance: 'Blocks to Swap' & GPU Monitoring
9:49 Workflow Usage - Crucial Step: Calculating & Setting the Number of Frames
10:48 Workflow Usage - First Generation: Running the 480p Workflow
12:01 Workflow Usage - Troubleshooting: How to Fix 'Out of VRAM' Errors
13:51 Workflow Usage - Introducing the High-Quality Long Context Workflow (720p)
14:09 Workflow Usage - Configuring the 720p 10-Step High-Quality Workflow
16:18 Workflow Usage - Selecting the Correct Model (GGUF) & Attention Mechanism
17:58 Workflow Usage - Improving Results by Changing the Seed
18:36 Workflow Usage - Side-by-Side Comparison: 480p vs 720p High-Quality
20:26 Workflow Usage - Behind the Scenes: How the Intro Videos Were Made
21:32 Part 2: Massed Compute Cloud GPU Tutorial
22:03 Massed Compute - Deploying a GPU Instance (H100)